Homemade white bread is the most popular type of bread. Its distinct taste and texture is so desirable, that no one could possibly refuse a homemade bread that is well made. This staple food, though most enjoyed by many, is not made by many people. If your reason for not making this is that you simply do not know how to make a basic white bread, we at simply trini cooking would like to assure you that the techniques for making bread is not out of your reach or difficult to follow.
The Process for Making White Bread
Now the process of making a basic homemade white bread is very simple. Though there are more advanced techniques for making some special kinds of bread, these techniques could be applied to other types of bread as well. In the mean time, we advise you to follow these steps for making bread. Practice until you feel confident that you can handle making other types of bread.
White Bread Recipe
White Bread
3 ½ cups all-purpose flour
½ cup lukewarm water
½ cup milk
1 envelop yeast
3 tbsp. butter, melted
2 tbsp. brown sugar
1 tsp. salt
1 egg, beaten
Vegetable oil to grease the (rising) container
Starting Off
Coat a medium bowl and a 9"x5" loaf pan with cooking spray or a little vegetable oil.
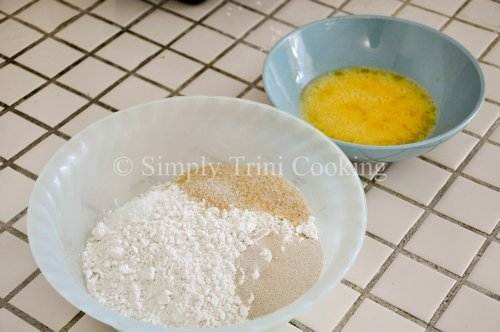
In a large bowl, combine 3 cups flour, sugar, yeast and salt.
(Note: Melted butter and beaten egg in the background)
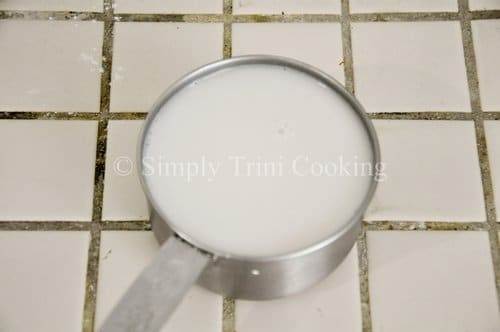
In a small sauce pan, over medium heat, heat the milk and water until mildly warm. Add the melted butter and beaten egg. Mix thoroughly. Then pour slowly into the flour mixture and beat well. Begin mixing dough with a fork. Add the remaining flour slowly to help form a soft dough. You will have to proceed to using your hands after a few minutes.
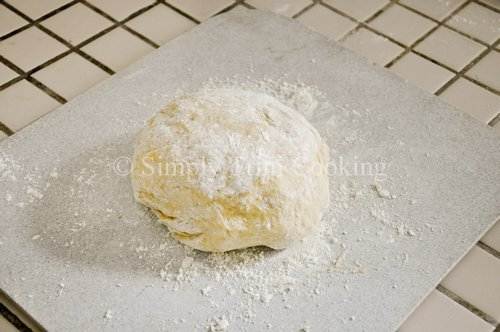
Lightly sprinkle a work surface with all-purpose flour. Turn the dough out on the surface and knead until smooth and elastic (this might take about 10 minutes). You may have to incorporate a little more flour to the dough while you knead. Generally, this requires an additional ¼ cup of flour.
Kneading the Dough
Pulling and stretching the dough helps develop its gluten and incorporate air so the rise will be successful. Kneading requires you place your hands side by side on the dough and press firmly down with the heels. Flatten the dough to about ½" thick. Grasp the sides with both hands and fold it back on itself, flattening again, and again. Rotate the dough and repeat the stretching until the dough feels elastic, pliable and somewhat sticky.
Resting the Dough
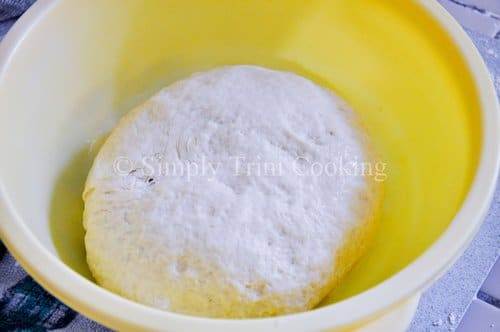
Form into a ball. Place the smooth dough ball into the prepared greased bowl. Turn the dough one time so that you leave the top part oiled. Cover the bowl using plastic wrap then position in a warm place. Wait until the dough rises to about twice its original size (this might take about 45 minutes).
(Tip: I've found to ensure the bowl is warm, I would pour hot water into the bowl. Empty, wipe clean and then grease before I place the dough to rise in it.)
Monitor your dough while it rises. Test the dough to see if it is risen well. Poke with your finger. If the indentation slowly rises back, your dough is ready for shaping. If it rises very quickly, the dough needs more rising time. If it doesn't spring back, it has rested too long.
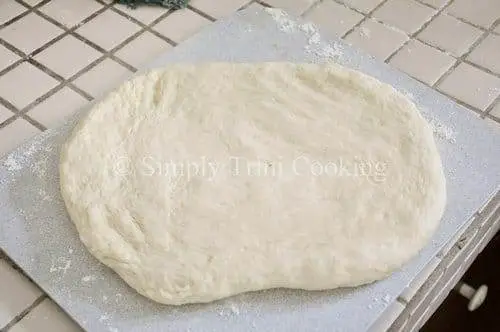
Punch down the dough. Turn the dough onto the floured work surface and gently stretch and press into a rectangle (roughly about 20"x 12").
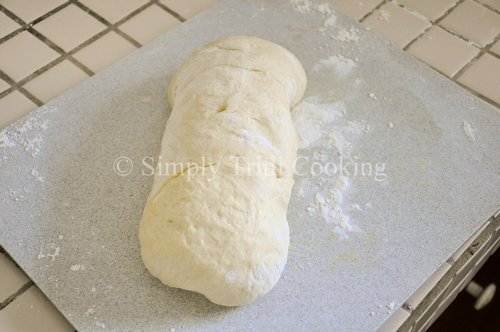
Roll up the sides into a thick cylinder, pinch the seams closed on each side, and turn so the the seams are underneath.
Baking the White Bread Dough
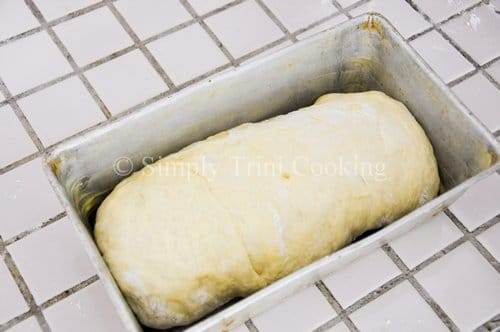
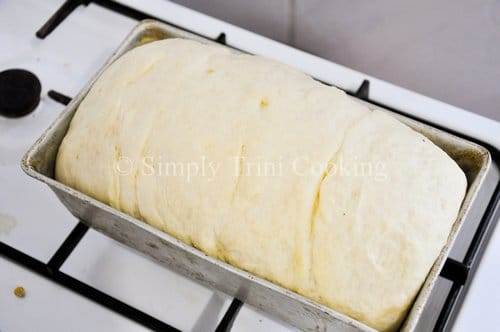
Place in a prepared pan, cover with a towel and allow to rise for another 10 to 15 minutes.
The sides, after resting, should come in contact with the sides of the pan.
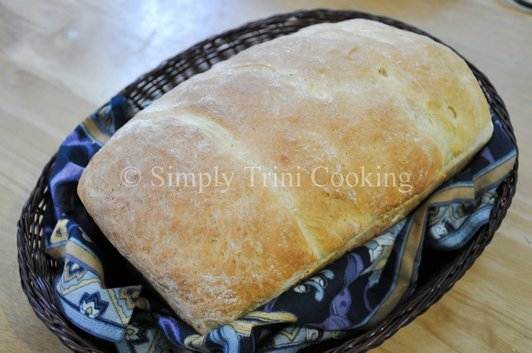
Preheat the oven to 375 degrees F (190 degrees C). Bake until golden brown, or for 20 to 25 minutes. Remove from the pan and cool on a rack before slicing.
White Bread
Ingredients
- 3 ½ cups all-purpose flour
- ½ cup lukewarm water
- ½ cup milk
- 1 envelop yeast
- 3 tbsp. butter melted
- 2 tbsp. brown sugar
- 1 tsp. salt
- 1 egg beaten
- Vegetable oil to grease the rising container
Instructions
- Coat a medium bowl and a 9" x 5" loaf pan with cooking spray or a little vegetable oil.
- In a large bowl, combine 3 cups flour, sugar, yeast and salt.
- In a small sauce pan, over medium heat, heat the milk and water until mildly warm.
- Add the melted butter and beaten egg. Mix thoroughly.
- Then pour slowly into the flour mixture and beat well. Begin mixing dough with a fork.
- Add the remaining flour slowly to help form a soft dough. You will have to proceed to using your hands after a few minutes.
- Lightly sprinkle a work surface with all-purpose flour. Turn the dough out on the surface and knead until smooth and elastic (this might take about 10 minutes).
- NOTE: You may have to incorporate a little more flour to the dough while you knead. Generally, this requires an additional ¼ cup of flour.
- KNEADING THE DOUGH
- NOTE: Pulling and stretching the dough helps develop its gluten and incorporate air so the rise will be successful. Kneading requires you place your hands side by side on the dough and press firmly down with the heels.
- Flatten the dough to about ½" thick. Grasp the sides with both hands and fold it back on itself, flattening again, and again. Rotate the dough and repeat the stretching until the dough feels elastic, pliable and somewhat sticky.
- RESTING THE DOUGH
- Form into a ball. Place the smooth dough ball into the prepared greased bowl. Turn the dough one time so that you leave the top part oiled. Cover the bowl using plastic wrap then position in a warm place. Wait until the dough rises to about twice its original size (this might take about 45 minutes).
- (TIP: I've found to ensure the bowl is warm, I would pour hot water into the bowl. Empty, wipe clean and then grease before I place the dough to rise in it.)
- Monitor your dough while it rises. Test the dough to see if it is risen well. Poke with your finger. If the indentation slowly rises back, your dough is ready for shaping. If it rises very quickly, the dough needs more rising time. If it doesn't spring back, it has rested too long.
- Punch down the dough. Turn the dough onto the floured work surface and gently stretch and press into a rectangle (roughly about 20"x12").
- Roll up the sides into a thick cylinder, pinch the seams closed on each side, and turn so the the seams are underneath.
- BAKING THE DOUGH
- Place in a prepared pan, cover with a towel and allow to rise for another 10 to 15 minutes.
- The sides, after resting, should come in contact with the sides of the pan.
- Preheat the oven to 375 degrees F (190 degrees C). Bake until golden brown, or for 20 to 25 minutes.
- Remove from the pan and cool on a rack before slicing.
Notes
A very warm environment of about 115 degrees F will kill the yeast. If you think the water is warm enough, but not hot, this setup is ideal.
Bread flour contains more gluten compared to all-purpose flour and will lead to a higher loaf.
Do not forget the salt to avoid the loaf from rising very quickly then falling.
Final Advice
Yeast requires a warm environment of about 100 to 110 degrees F to begin growing. A very warm environment of about 115 degrees F will kill the yeast. If you think the water is warm enough, but not hot, this setup is ideal. Bread flour contains more gluten compared to all-purpose flour and will lead to a higher loaf. Do not forget the salt to avoid the loaf from rising very quickly then falling.
This white bread will make a perfect toast with butter or any other sandwich you like. So go ahead and discover how you can make a perfect white bread with a texture and taste that could even be serve at your next family gathering.





David
That's a really good recipe, thankyou again and keep up the great work you're doing, looking forward to more of your delicious recipes.
nisha
This bread looks delicious, i am going to try it today, my husband loves home-made bread.
Felix
Hope you and your husband enjoy it Nisha 🙂
Marsha
I plan on trying this recipe today, I
can't wait to see how it turns out
Mandi
Hi, some people make bread that's sort of soft on the inside but has a hard outer crust. What causes that?...so I know what to avoid
Debora Alexis
Thanks! !!!
Kamanie Maharaj
Ty
Sophia QueenHart Archer
How about a variation with some wheat germ/bran or both...
Naseem Moha'd
How about some hops bread please
Hazel Cummings
Looks almost like mine :-))
Java
Great result! I did not have to change anything.
I poured warm water on the outside of the bowl. That way the inside stayed dry but became warm.
It's been cold here the past days (Florida - winter temps in 40s) so I had to warm the oven for 1 min then put the dough in there to rise. It was the only way I could get a warm place for the rising stage.
The aroma of homemade bread is phenomenal!!
Dawn
I can make bread! I don't consider myself a baker (too much measuring), but I can cook most things Trini. This bread was so easy and so tasty! Thanks for a fabulous recipe, Felix!