If you are wondering how cocoa is made in Trinidad, this is the post you should read. However, this part of our cocoa story begins with a little local saying:
This saying has had such a profound effect on me as child growing up in Trinidad and Tobago that even now as I write this second installment on A Cocoa Story, I wonder how this saying could have come about. Could the inventor of this saying been a wise slave who somehow used his or her surroundings or everyday occurrences on the plantation to impart wisdom to others? Or did it come from the “Cocoa Panyols” that worked in the Cocoa Plantations? We would never know how the saying came about, but today it still has pertinent meaning.
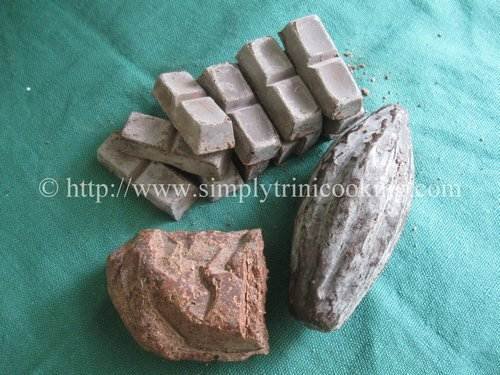
How Cocoa is Made
Trinidad is known for its delicious cocoa and chocolate products, and making your own cocoa bar can be a fun and rewarding experience. Here is a step-by-step guide on how to make your own cocoa bar at home.
Making cocoa is a long process, as you would see in the pictures below, sometimes taking months based on the weather conditions, i.e. not getting enough sunlight to dry the cocoa. In fact what you're seeing here is a few months of photography put together to show the different steps in the production of cocoa. I opted to show the very traditional way our forefathers would have made it in Trinidad and Tobago using the simple but effective mortar and pestle. What was left out was the “dancing of the cocoa” and using a cocoa house to dry the cocoa since we did it on a small scale: only a few cocoa pods were used.
It was a joy to relive this making of cocoa since most people usually buy cocoa now instead of making it. OK! Enough of my rambling, time to make some cocoa and remember …….
“When yuh have cocoa in de sun, look out for rain”….I really mean it: your cocoa won't dry 🙂
Act II
How Cocoa is Made Trini Style
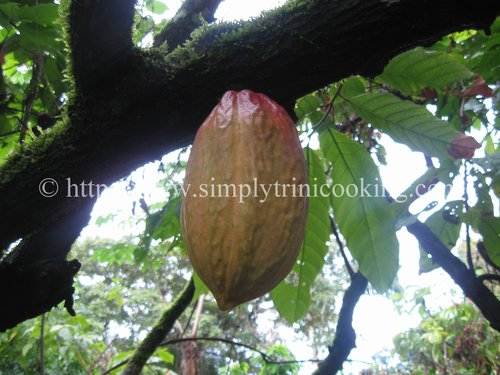
First, you'll need to get your hands on some cocoa. This is the ideal cocoa, ripe and ready to be picked.
If you cannot get your hands on cocoa like above you can buy your cocoa beans. You can order them online or find them at a specialty food store.
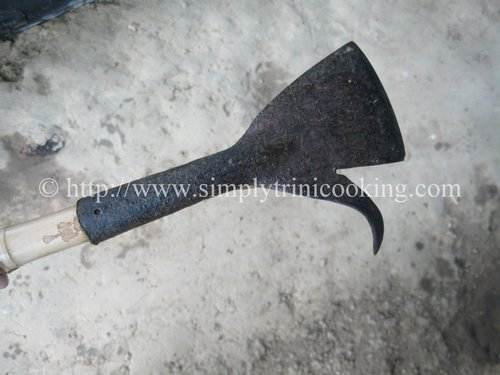
One will need a cocoa knife like this one to pick the cocoa.
Once you have your beans, you'll need to dry and roast them.
After the cocoa is picked, it is cracked and the seeds are taken out. The next process (not shown) is referred to as “sweating the cocoa” which is a process where the pulp ferments and liquefies, leaving the cocoa bean. Now we're ready to dry the cocoa.
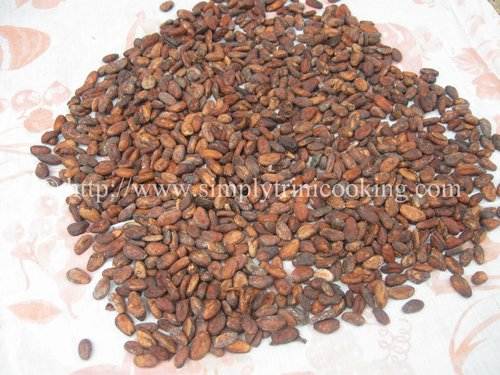

The process of drying the cocoa usually involved a cocoa house (traditionally)
Since we did only a small amount it was spread out on a cloth and dried in the sun.


After the weeks of drying the cocoa it is now ready to be roasted. The beans are parched on a low fire until the outer skin can be easily peeled by hand (similar to the peeling of peanuts).
Or… your can opt to roast them in the oven instead. Preheat your oven to 275°F and roast the beans for 20-30 minutes. Be sure to keep an eye on them and stir them occasionally to ensure they roast evenly.
Next, remove the outer shell of the bean, also known as the husk.

Each cocoa bean has to be shelled. You can do this by hand or by machine, depending on the quantity of beans you have.
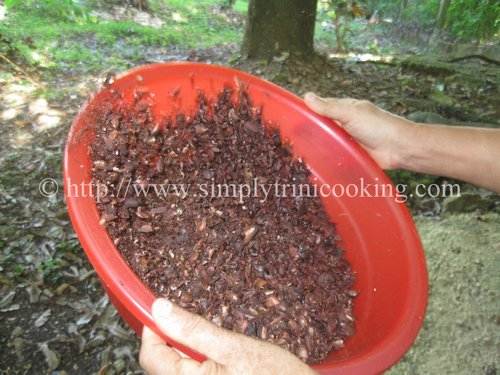
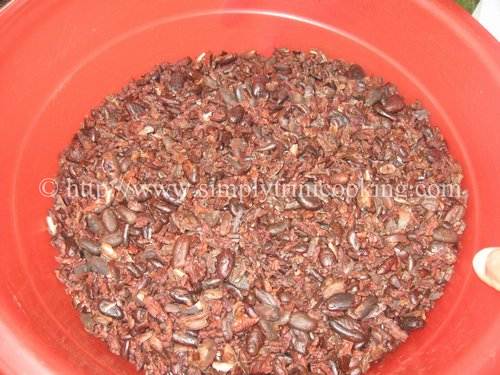
If you're doing it by hand, gently crack the beans open with a pestle and remove the husk. A novel idea is fanning (see the pictures below). It is “fanned” to separate the skin leaving the cocoa bean.
If you're using a machine, you can use a winnowing machine or a hairdryer to blow off the husk. Once you have removed the husk, you'll be left with cocoa nibs. These nibs can be ground into a powder or used as they are to make your cocoa bars.
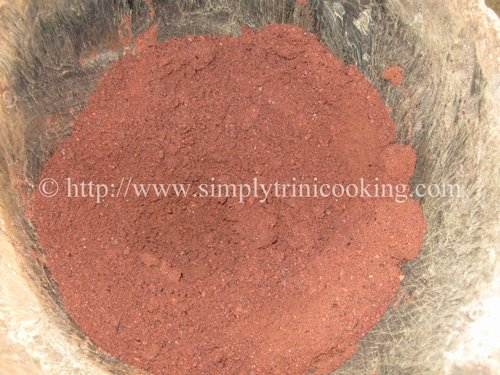
Ground the cocoa into powder.
Now it is time to make the cocoa.
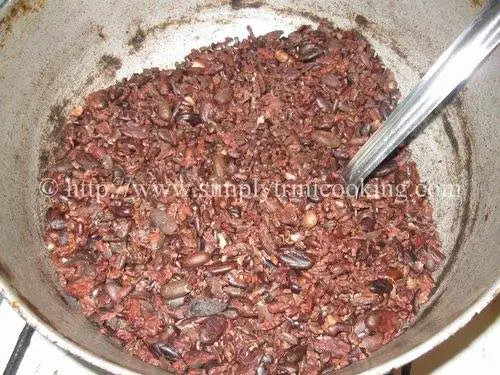
Before the beans are processed they are first warmed in a pot.

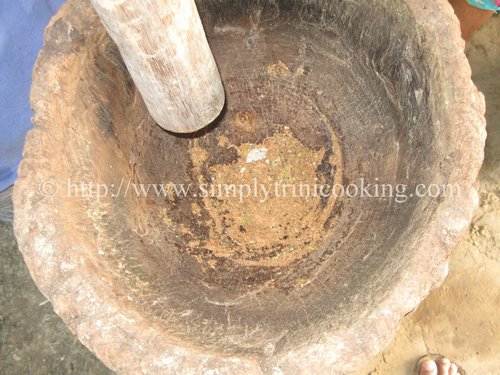
We are using the traditional method to grind the cocoa beans using a mortar and pestle.


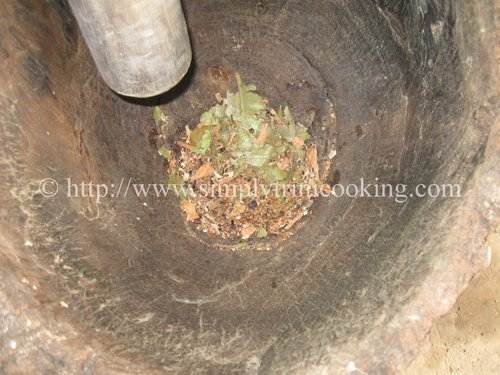
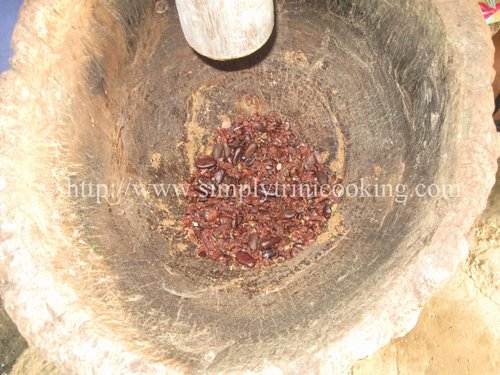
Spices are added to the cocoa beans: tonka bean seeds, nutmeg, spice, cinnamon, and bayleaf.
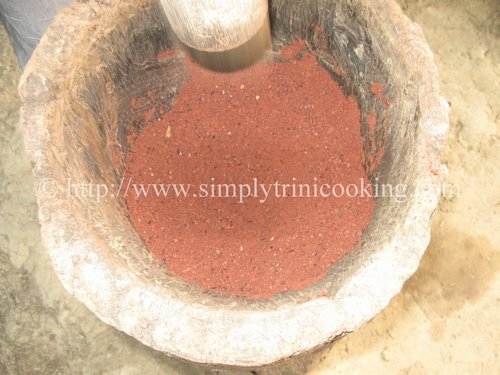
First, the spices are pounded in the mortar until fine. Then the cocoa beans are added and pounded also.
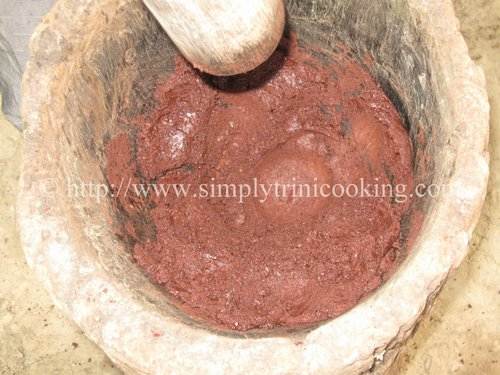
After a while the pounded beans begin to “cake” in the mortar. This means that the cocoa is getting ready to be formed.


The cocoa is now ready to be formed. Notice the sticky texture. It is then molded by hand into the desired shape. This is one of the traditional forms the cocoa is molded into on the island. For simplicity, we will call it a bar. In other Caribbean islands, such as St. Vincent, the cocoa is molded into sticks.
Commercially made cocoa in Trinidad is now formed into a number of shapes. Some look like chocolate bars, some in the form of the cocoa fruit, blocks, and some like a sphere.

We were able to make seven cocoa bars. These are quite easy to hold and grate.
So there we have it. Cocoa made the way it was made long time: all natural and wholesome.
Did you like this post? You are welcomed to leave a comment, Facebook like and tweet about it.
Stay tuned for Act III. Yes, allyuh it have ah Act III.
Ah gone!
You may also like:
How to make coconut oil
A cocoa story 1: Cocoa in Trinidad and Tobago
Free Trinidad and Tobago Classifieds
Download our free toolbar
Join our Facebook fanpage
Subscribe to our Newsletter
Note: Don't forget to leave your comments in the comment box below about this post on how cocoa is made Trini Style.






Oooooo goodness what I would do to see this live…fascinating stuff as always Felix.
Thanks Wizzy 🙂
Thanks Felix for this wonderful post. Loved the cocoa being processed the traditional way . Just one question , how this bar gets used in your brews or other recipes ?
I wish i could lay my hands on a few of these cacao beans , i have a nice mortar n pestle , terra cotta mortar and wooden pestle 🙂
Just saw your twitter introduction Felix…you say if you love Trini food you are at the right place…i think you just have to love food 🙂
I am tweeting this post 🙂
Sangeeta long time no see girl. The next post shows how we use the cocoa bars. Stay tuned!
Felix OMG, what a demo, what an education! This is a prized post! Always outstanding! I love cocoa sticks – I buy from the St. Lucian and Vincentian vendors here in Barbados. I am planning to use the stick to make an all-time favourite of many people (except me, I just like the idea of it).
If I had known you had access to this stuff I would have asked you to get some for me while I was there! Grrrrrr, next time though and hopefully sooner rather than later, given that Red Jet is now flying 🙂
I’m going tweeting this post too!
Cynthia all you had to do was ask. Anyhow next time 🙂
Anyone know where I can buy a few Kgs of cocoa beans. I am living in the UK and am looking for fermented but not roasted beans preferably from the caribbean.
Nice. I searched the web for an hour before coming up with this, which was just what I wanted. Thanks
You’re welcome Caribman 🙂
Felix : Thanks. You brought back dear memories of my grandfather, “Pa Philo” who owned five acres of land in Anglaise Village, Cumana. The land consisted of coffee, cocoa, tonka beans, citrus, mango and other fruits. He had a small house for drying the cocoa. When he producedthe cocoa “bricks”, we would make “cocoa tea” which we sweetened with Nestle’s condensd milk. Coconut roast bake made with “fire on top and fire below” out in the yard on the estate was the order of day to accompany the hot, sweetened cocoa tea. We would slice open the hot coconut bake and smear some yellow imported cooking butter on it. (The cooking butter was purchased by the ounce from the local Chinese shop). You made my night.
You’re welcome Leo. Those times are really nostalgic for me as well.