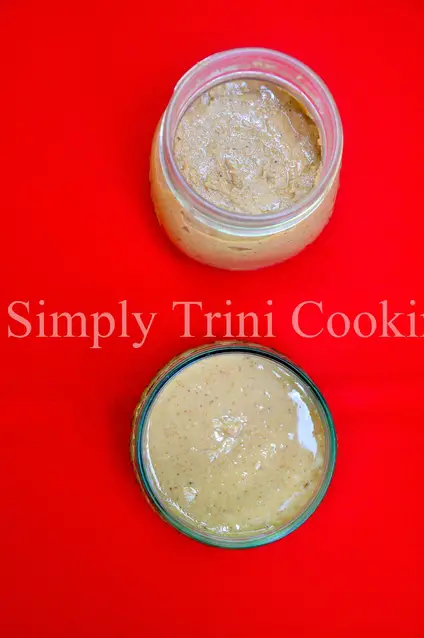
All you need for this simple recipe is a food processor or a blender and a tasty heap of roasted peanuts to make this thick creamy peanut butter. This homemade peanut butter is rich in a variety of nutrients, particularly protein, Most people know that peanut butter has a high amount of protein. It also has vitamin E, Niacin (B3), vitamin B6 and magnesium. It is a good source of copper as well to help you reduce the risk of osteoporosis and heart disease. And yes, it has its regular fat, oleic acid, which is a good fat that can help you maintain good cholesterol, sugar levels, and blood pressure.
I am in no way encouraging you to overeat anything. Peanut butter should be eaten in moderation, and you would not be gaining unwanted pounds. However, I must say that this homemade peanut butter does not contain the many ingredients you would generally find in the commercial kinds. However, what a homemade peanut like this does not contain is the high amount of sugar, salt, some preservatives and some partially-hydrogenated oil. Also, In regular commercial peanut butter there is usually as much as 2 grams of sugar for every 1 tablespoon serving. That is a lot. So I suggest it would certainly be a good thing to start making your own peanut butter from scratch.
Homemade Peanut Butter Recipe
The recipe below includes variations for taste. Basically you may use just peanuts and salt. You can add flavour and improve the texture by adding the other ingredients.
Ingredients:
1-2 cups Peanuts, raw shelled or in red skin
½ teaspoon salt
water
1 tablespoon honey/jam (preferably a sugar-free jam)
1-2 tablespoons peanut oil or coconut oil
½ teaspoon cinnamon (optional)
1-2 tablespoon cocoa powder or melted chocolate chips (optional)
Directions:
Note: You will need a food processor or a blender. If you have a food processor it will not take no more than 5 minutes to have your peanut butter. So get the food processor prepared for some action. The only ingredient you really need is peanuts, roasted peanuts. They blend well, produce more of the peanut oil and so makes a creamier blend. The taste is also a lot better. If the nuts are not roasted, go ahead and roast them.
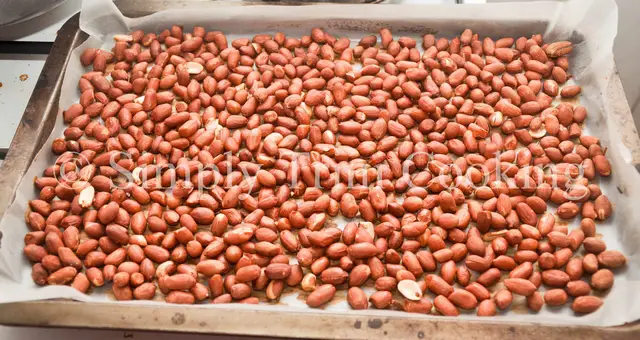
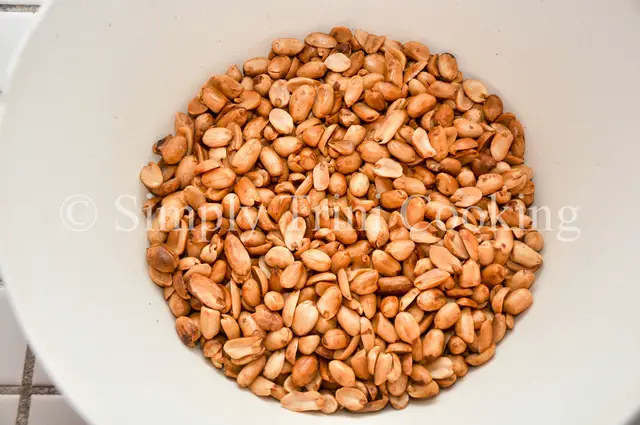
First, soak the nuts in salted water for 20 minutes before you place them on a prepared roasting sheet. Bake the nuts for 10 minutes at 350 degrees F, remove and then cool before you proceed to the next step. If your nuts has its skin, you will have to remove the skin. You can place the nuts in a kitchen towel to help you remove the skin. However, I find working with nuts with the skin a bit tedious, so I prefer nuts without the skin as it allow the job to be done faster.
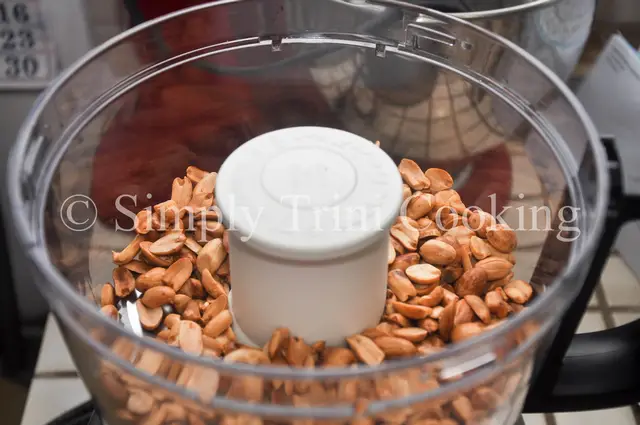
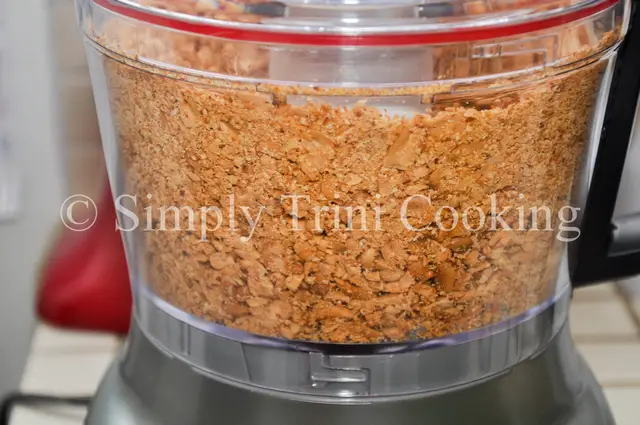
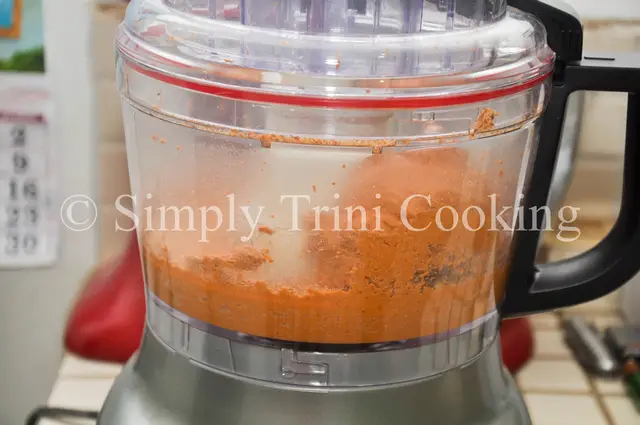
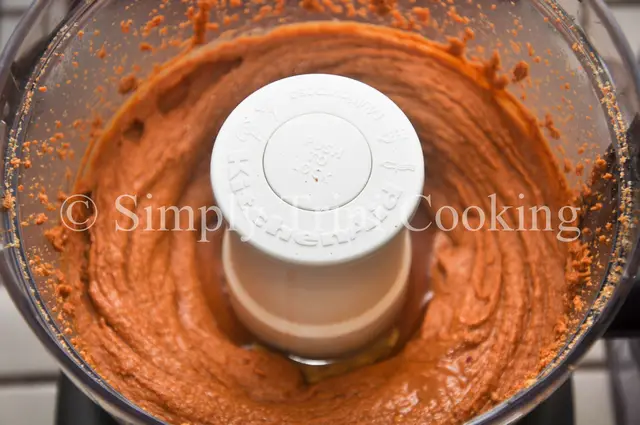
Next, place the peanuts in the processor add the oil and start pulsing the nut on low-medium. You will first notice the peanuts get a crumbly texture, and then to a sticky mass that looks like a ball.
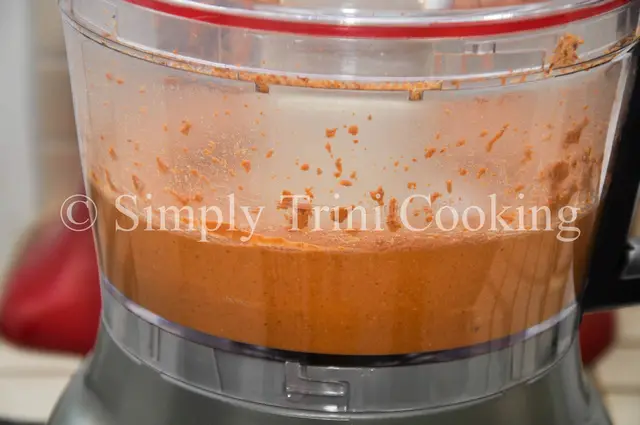
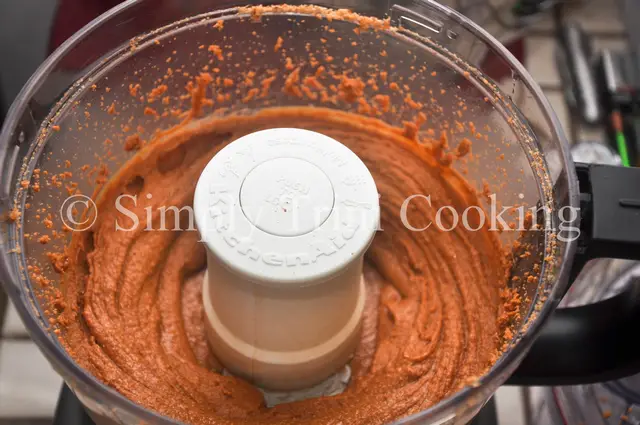
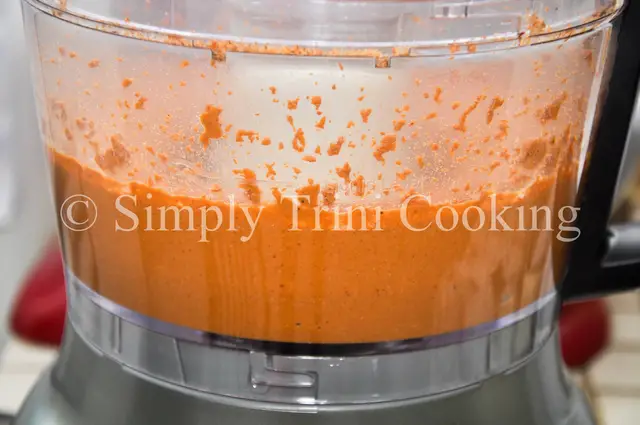
This will not last for long, once you quickly scrape the sides with a spatula. Allow the processor to continue and a desired thick creamy paste will form.
Now, you should note that a little bit of extra coconut oil will make a smoother texture. Add a tablespoon or two more, depending on the amount of creaminess you want and if you want it to spread easily on bread.
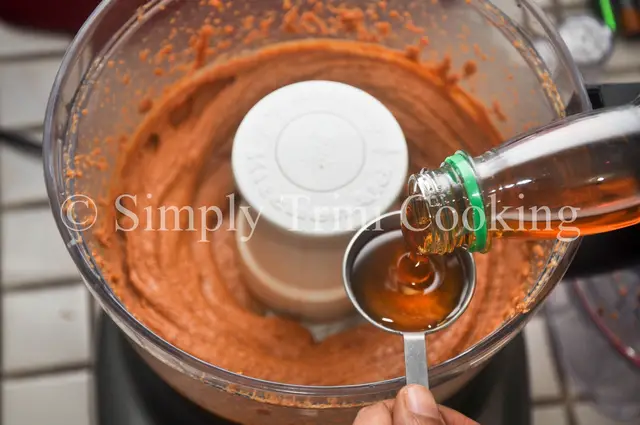
However, if you want a sweet tasting peanut butter, you can add the honey or jam to the mixture. Allow it to blend well. Also add the optional ingredients according to your taste. Once you arrive at your desired smoothness, stop the processor and bottle the peanut butter.
Note: 2 cups of peanuts will yield about 1½ cups of butter. You do not have to refrigerate the butter, but if you do it can last up to as much as 3 months in the refrigerator. Just note that some of the oil will be lost. If you added oil and stir it before you put it in the fridge, however it will still retain some of its smoothness.
I make peanut butter often for my smoothie, so the peanut butter does not have to be too creamy. However, one time I made a second batch and added a little extra oil for a smoother blend. I hope you are now confident enough to try this healthier version of peanut butter.
Homemade Peanut Butter
Equipment
- food processor or a blender
- spatula
Ingredients
- 1-2 cups Peanuts, raw shelled or in red skin
- ½ tsp. salt
- water
- 1 tbsp. honey/jam (preferably a sugar-free jam)
- 1-2 tbsps. peanut oil or coconut oil
- ½ tsp. cinnamon optional
- 1-2 tbsps. cocoa powder or melted chocolate chips optional
Instructions
- First, soak the nuts in salted water for 20 minutes before you place them on a prepared roasting sheet. Then, bake the nuts for 10 minutes at 350 degrees F, remove and then cool before you proceed to the next step. Remove the skin once cool.
- Next, place the peanuts in the processor and start pulsing the nut on low-medium. You will first notice the peanuts get a crumbly texture, and then to a sticky mass that looks like a ball. This will not last for long, once you quickly scrape the sides with a spatula. Allow the processor to continue and a desired thick creamy paste will form. Add a tablespoon or two of coconut oil, depending on the amount of creaminess you want and if you want it to spread the butter easily on bread.
- For a sweet tasting peanut butter, you can add the honey or jam to the mixture. Allow it to blend well.
- For additional flavour, add the optional ingredients according to your taste. Once you arrive at your desired smoothness, stop the processor and bottle the peanut butter.
- Refrigerate.
Notes
- 2 cups of peanuts will yield about 1½ cups of butter.
- You do not have to refrigerate the butter, but if you do it can last up to as much as 3 months in the refrigerator.

